 Broken Crimp
Map your first climb from a photo
Broken Crimp is a notebook for your beta, the sequence of moves that gets you up a climb. You map each move on a photo of the wall: which hand or foot goes where, in what order. A climbing figure follows your moves on the wall, so you can play the whole sequence back before you try it again. Notes, photos of holds and voice notes go with it, and everything stays on your phone, with no account and no signal needed.
This guide takes you through your first climb, from an empty list to a beta you can watch:
- create the climb and add a photo of the wall;
- place your starting position;
- add the rest of your moves, one by one;
- correct how the body sits where it matters;
- press play and watch it.
 and watch it.
It takes about ten minutes. All you need is a photo of a climb you know, from the gym or the crag.
1. Create the climb
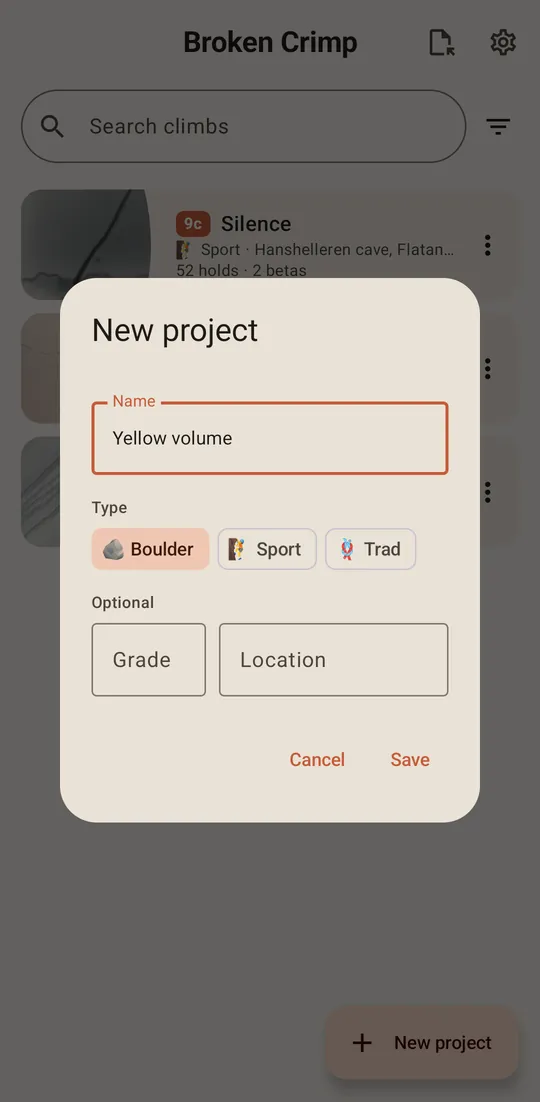
Press New project on the climb list. Give the climb a name, pick Boulder, Sport or Trad, and press Save. Grade and Location are optional.
2. Get to know the two tabs
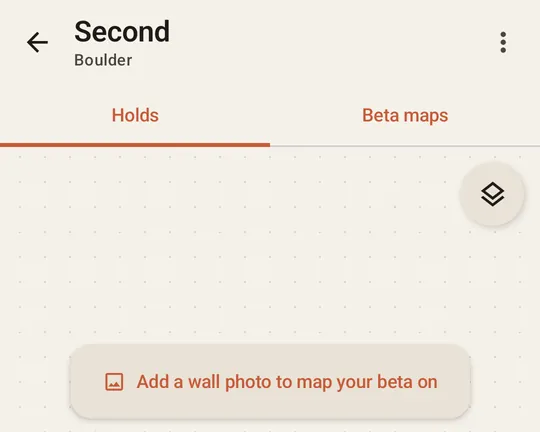
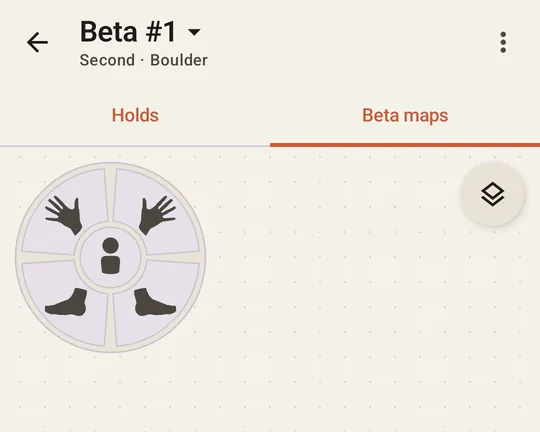
A climb has two tabs. Holds is for the wall itself: the background photo, and any holds you want to place on it. Beta maps is for the climbing: where each hand and foot goes, move by move. A climb can have several betas, and they all share the same wall.
3. Add the wall photo
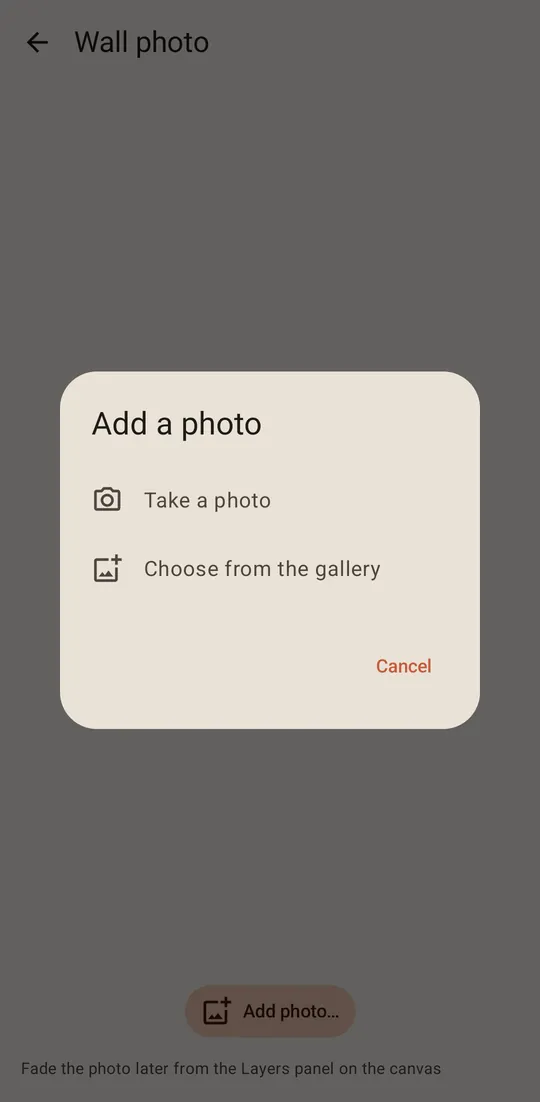
On the Holds tab, press Add a wall photo to map your beta on, then Take a photo or Choose from the gallery.
Stand back far enough to get the whole climb in the picture. You can correct the perspective afterwards. If you don’t have a photo of the wall, a photo or screenshot of a topo from an app or guidebook works too. With neither, map the climb on a blank wall.
4. Frame the photo
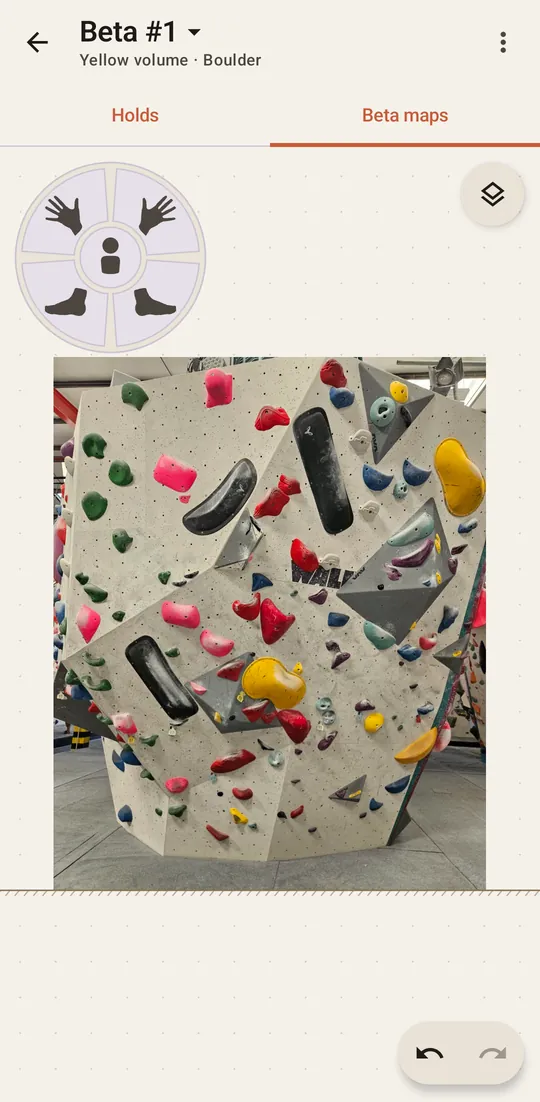
Drag a corner to crop down to the rock. Correct the perspective straightens a wall that leans away because you took the photo from below, and Rotate turns the picture. Press Save, and the climb opens on the Beta maps tab.
 to crop down to the rock. Correct the perspective straightens a wall that leans away because you took the photo from below, and Rotate turns the picture. Press Save, and the climb opens on the Beta maps tab.
To see the holds up close, pinch with two fingers to zoom in or out on the wall, and drag with one finger to move around it. On a computer, use the scroll wheel or the trackpad.
5. Place your starting position
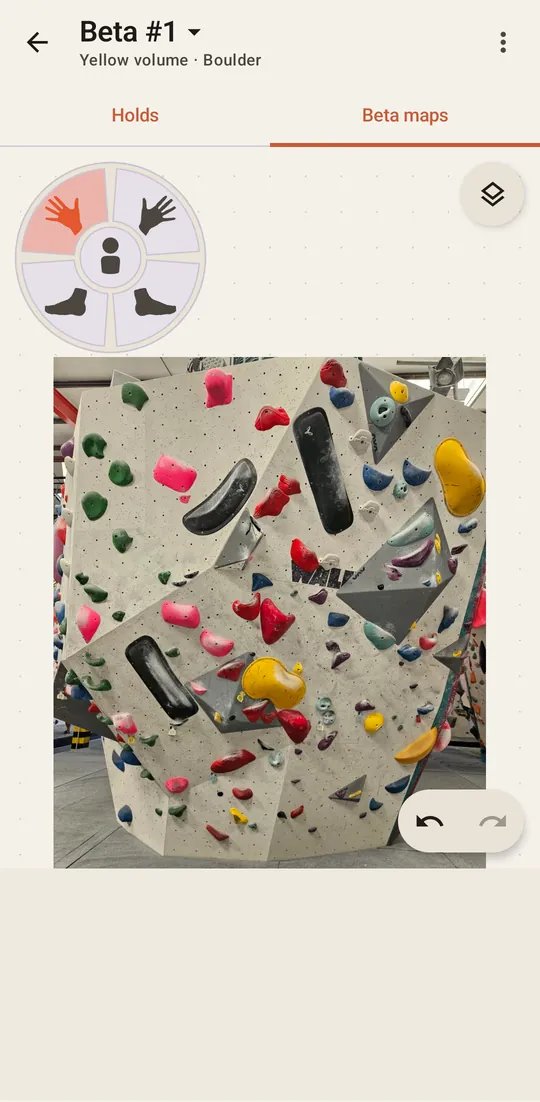
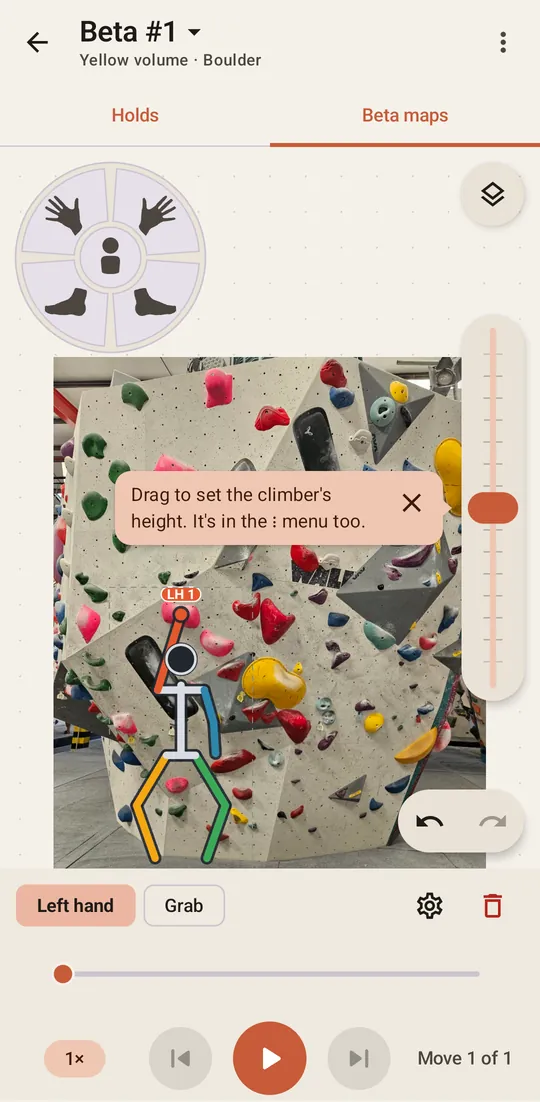
The round dial at the top left has both hands and both feet. Tap a limb on the dial, then tap where it goes on the wall. The climber appears as soon as the first limb is placed.
Place your other hand and your feet the same way. They join into one starting position, which is move 1.
The first time, a bar also appears at the side of the wall. Drag it until the climber looks the size of a person on your photo. Later on you will find it under Climber height in the menu.
6. Add the rest of your moves
Each limb you place from here on is a new move, in the order you climb. Pinch to zoom in on the wall, and drag with one finger to move around it. Undo and Redo sit at the bottom right of the wall.
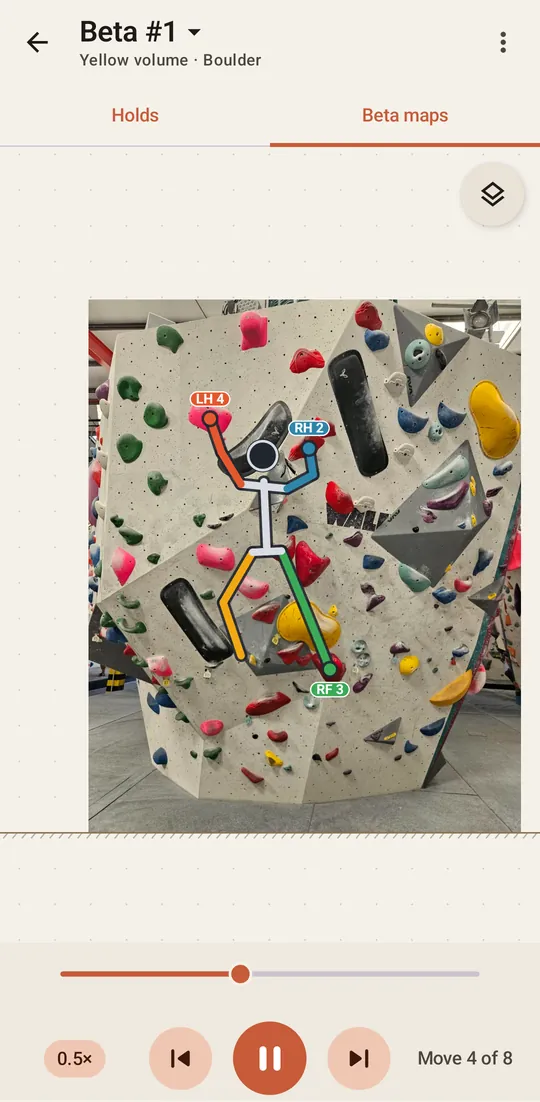
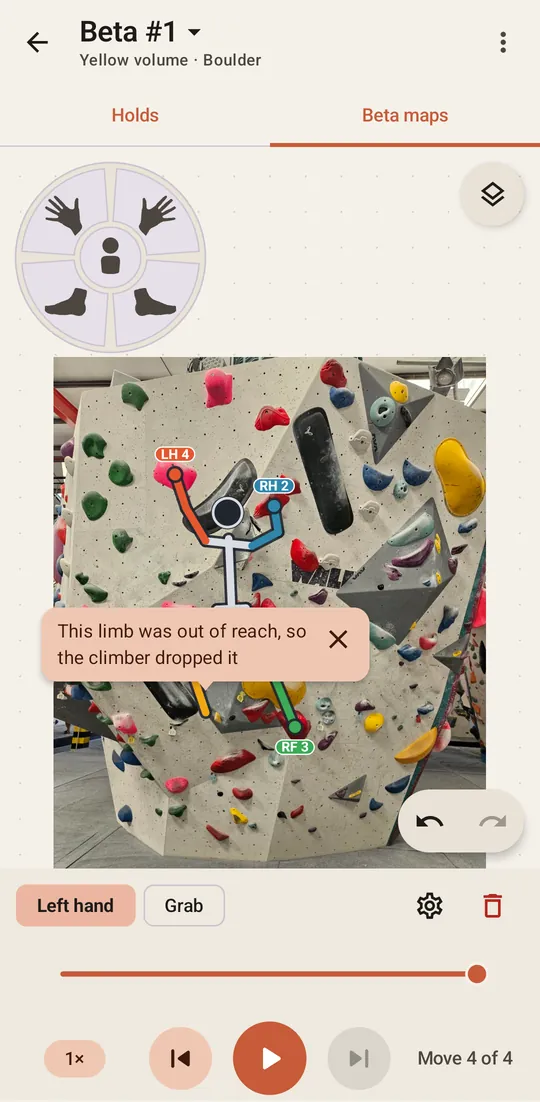
If a move takes the climber too far from a hand or foot, the climber lets go of it and the limb hangs free, as in the picture below. Place that limb again when you reach for its next hold, or pin it to keep it on its hold.
To add a move you missed, go back to the move before it with the arrows or the slider, then place the limb as usual. The app asks first, and Insert move puts the new move there and shifts the later ones along.

 or the slider, then place the limb as usual. The app asks first, and Insert move puts the new move there and shifts the later ones along.
To take a move out, go to it and press the bin on the bar under the wall.
7. Adjust the body
The app works out where the body goes on each move. If it isn’t how you climb it, tap the climber with no limb lit on the dial, then drag the handle to move the body, or slide the arrow button to turn it. The change belongs to that move only. To pose every joint yourself, press the pencil . Adjust the body has the details.
 to move the body, or slide the arrow button
 to turn it. The change belongs to that move only. To pose every joint yourself, press the pencil
 .
8. Press play
Press play to watch the figure climb your moves. The pill at the left of the play button changes the speed, from 1× to 2× to 0.5×. The arrows either side step one move at a time, and the slider jumps to any move.