 Broken Crimp
No photo? Map a climb on a blank wall
A photo of the wall is the quickest start, and a photo of a topo works too. When you have neither, like for a board at home or a climb you remember, build the wall from holds instead.
1. Create the climb
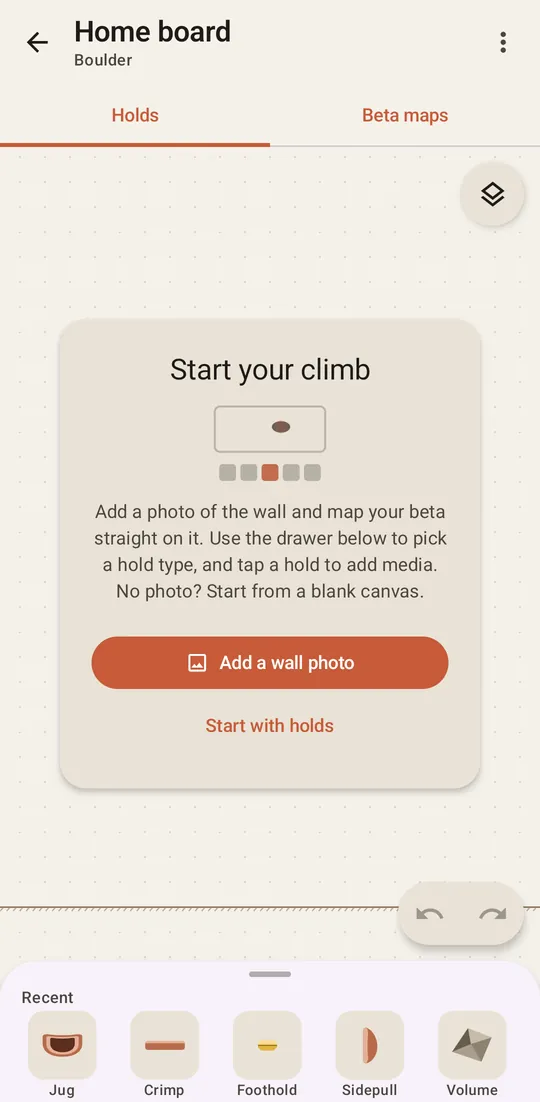
Create the climb the way you would with a photo. On your first climb, a card offers Add a wall photo and Start with holds. After that, a new climb opens on the Holds tab with the drawer of holds already open.
2. Place the holds
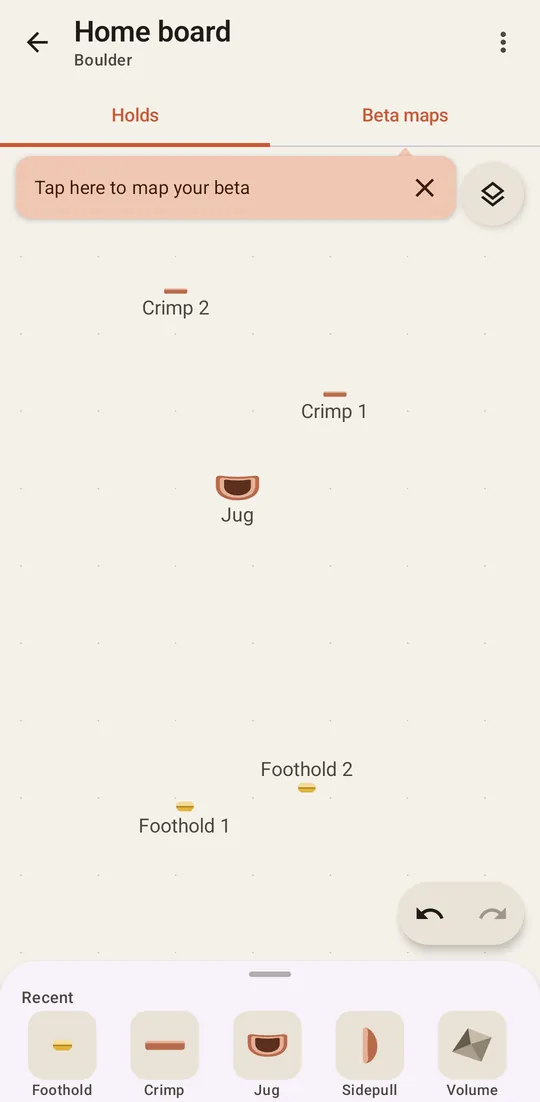
Press Start with holds if the card is there. Tap a hold in the drawer, then tap the wall where it goes.
Place the rest the same way, roughly where they are on the real wall. The climber is sized to match your holds, so space them about as far apart as they are on the rock. To place several of the same hold, long-press it in the drawer.
Add holds to your climb has the rest: resizing and turning a hold, naming it, and attaching a photo or a voice note to it.
3. Set your moves on the holds
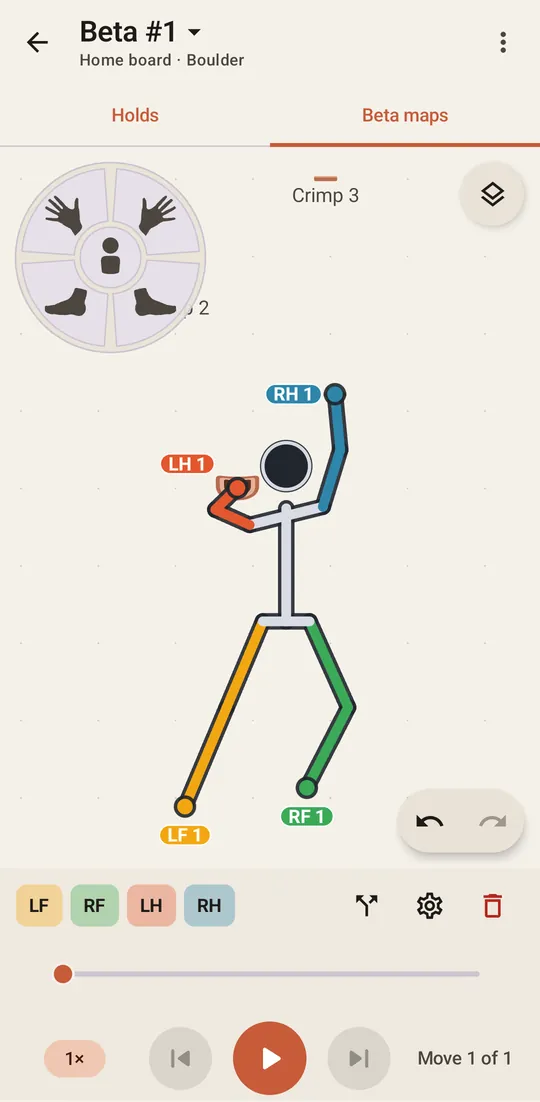
Open the Beta maps tab. Tap a limb on the dial, then tap a hold, and the hand or foot lands on it. Everything from here works as in your first climb.