 Broken Crimp
Learn a sequence for a redpoint
A redpoint is often lost to one small detail: which way the thumb goes, or which foot comes first. Keep the whole sequence in one place and go over it between tries.
Start by setting your moves on the Beta maps tab.
1. Name the moves that matter
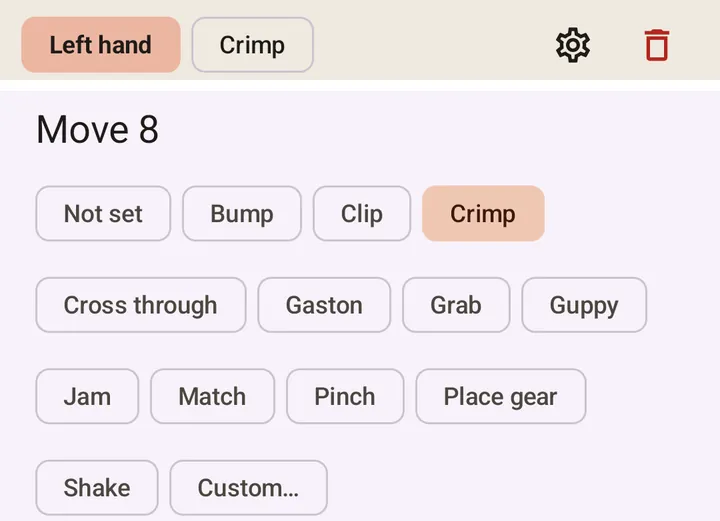
Each move has a button under the wall with its name, like Grab. Tap it to choose another, for example a heel hook or a drop knee. The list changes with the limb, so a foot offers different moves from a hand. Custom… takes your own word for it.
2. Write a note
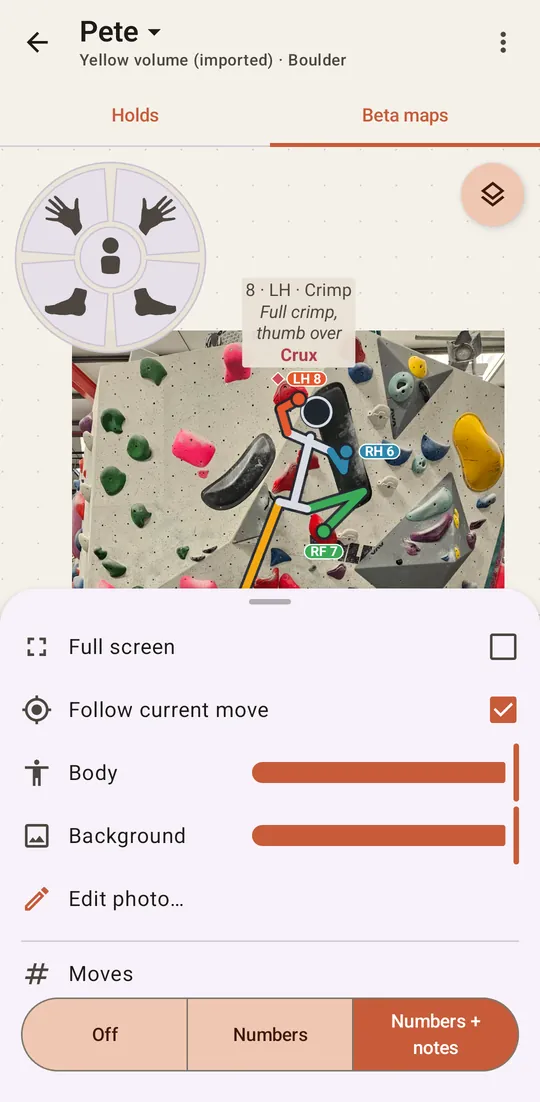
The same panel has a Note field for what you need to remember. The note appears on the wall, next to the move. To change it later, tap it on the wall with no limb selected. The bin in that dialog removes it.
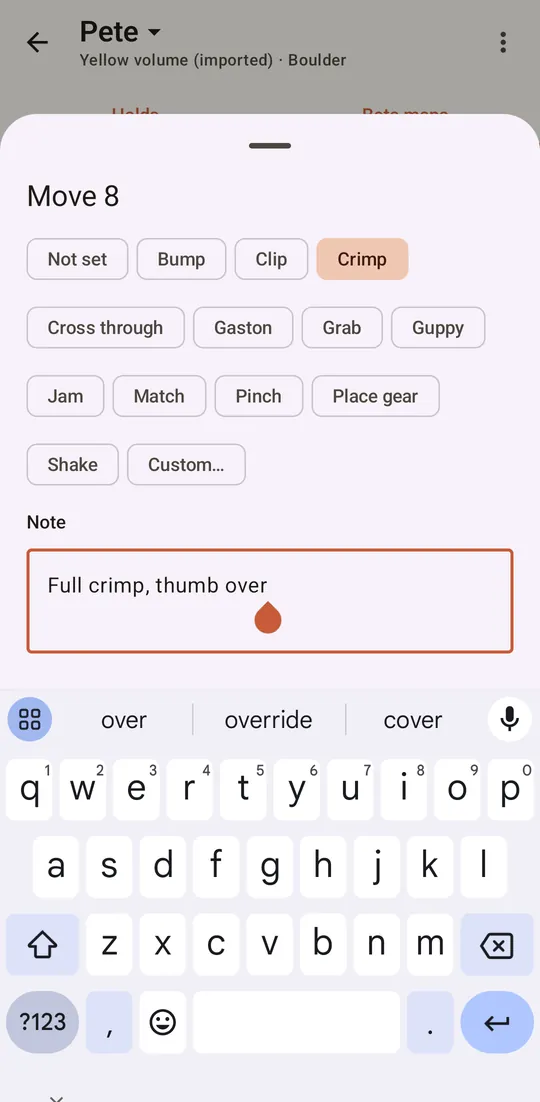
3. Tag the crux and the rests
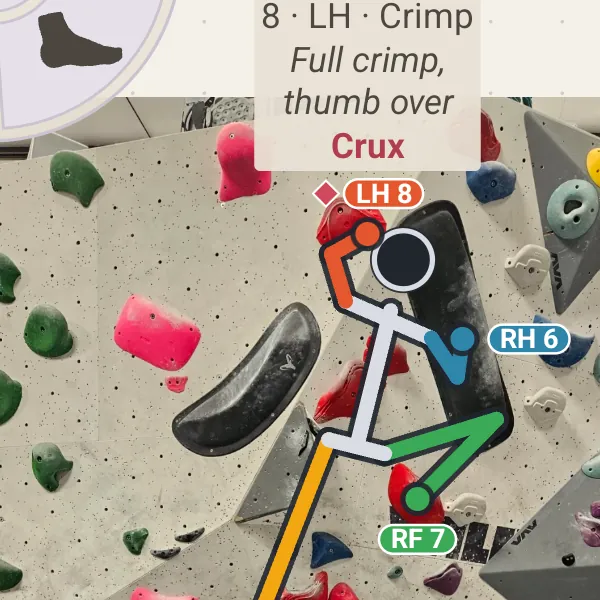
Press the gear on the move’s bar, choose Tags, then Important, Crux or Rest. The tag goes on the wall with the note.
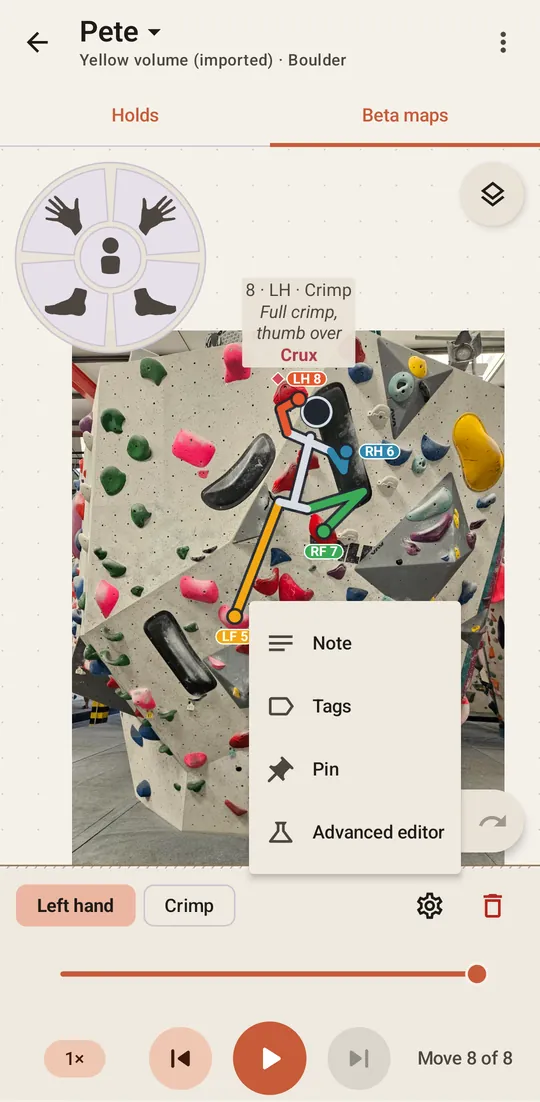
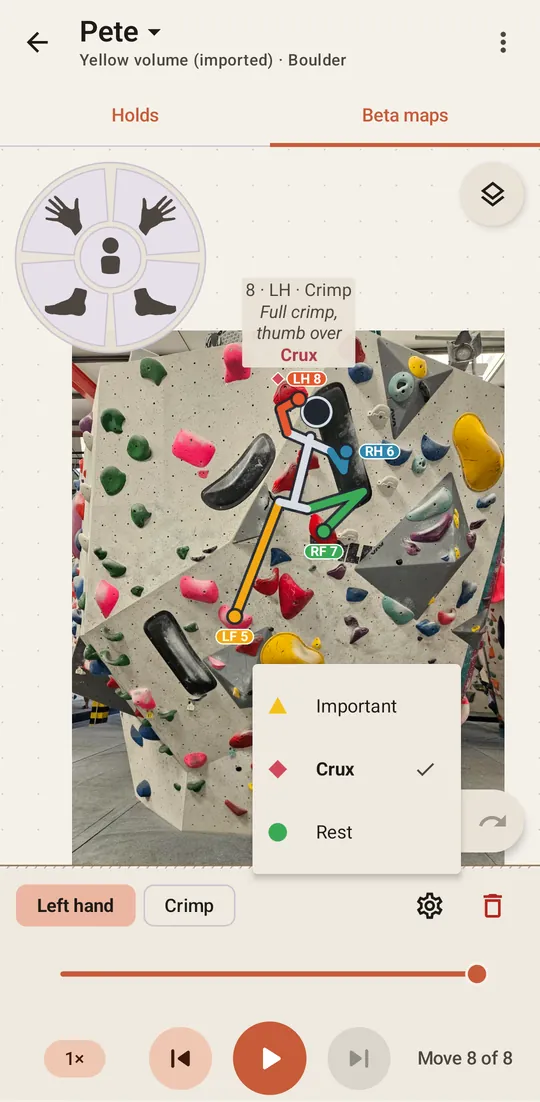
4. Add a close-up of a hard hold
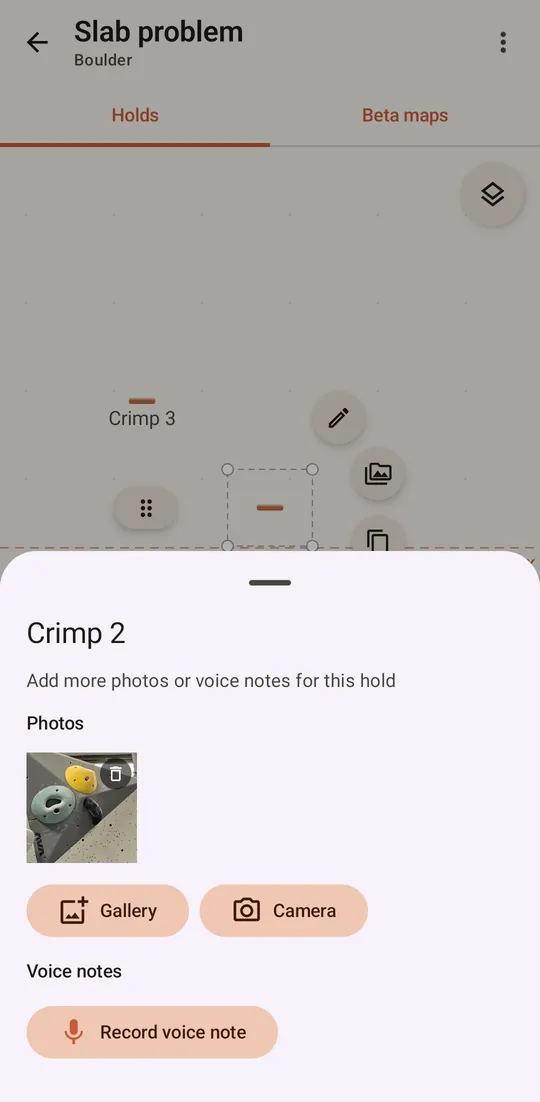
A photo of the whole wall rarely shows enough detail of each hold. To add more, place the holds that matter on your climb from the Holds tab. Then tap a hold and press the photos button to open its panel, where Gallery, Camera and Record voice note attach a photo or a voice note to it.
 to open its panel, where Gallery, Camera and Record voice note attach a photo or a voice note to it.
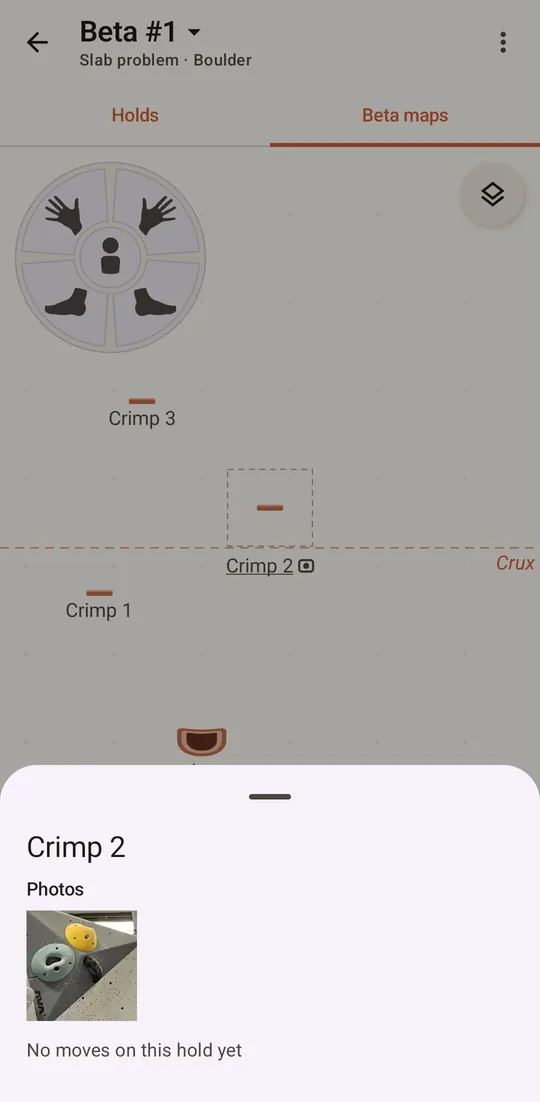
The hold’s name then wears a small mark. On the Beta maps tab, tap the hold with no limb selected to see or hear what you attached.
Tip: film the whole climb up close while you lower off. Lowering gives you the time and the angle to get every hold in shot. Back on the ground, pause the video on each hold that matters, take a screenshot, and attach it to that hold with Gallery. Next time, you know what each hold looks like at a glance.
5. Keep everything else in Media
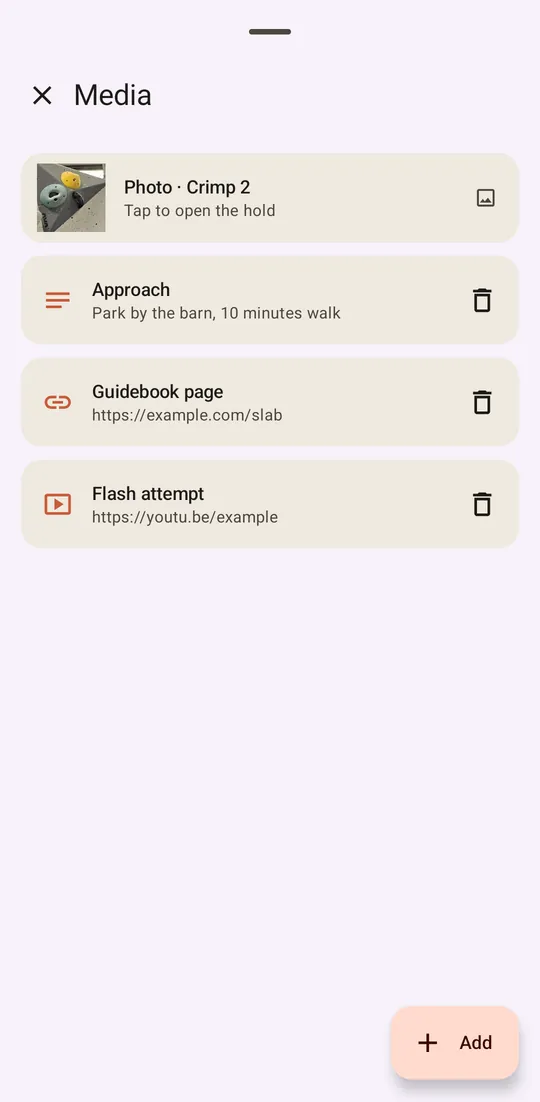
Choose Media in the menu for one list of what you keep with the climb. The wall photo and your hold photos and voice notes collect here by themselves, and tapping one on a hold opens that hold.
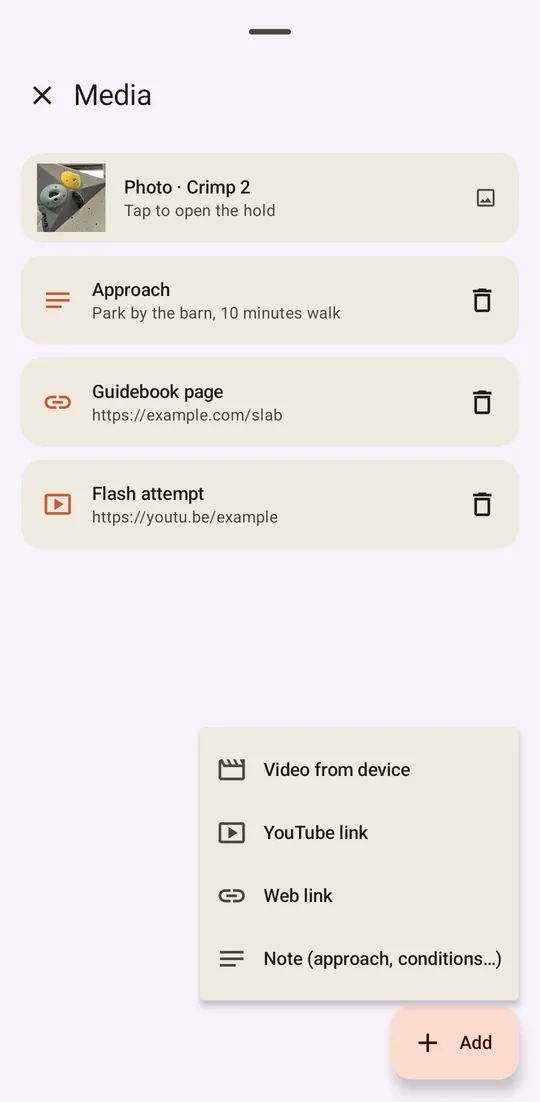
Add puts in the rest: Video from device, YouTube link, Web link and Note (approach, conditions…). A clip of someone on the climb, the guidebook page and the approach can all live beside the beta. Tap a link to open it. Video from device is on Android only.
6. Go over it
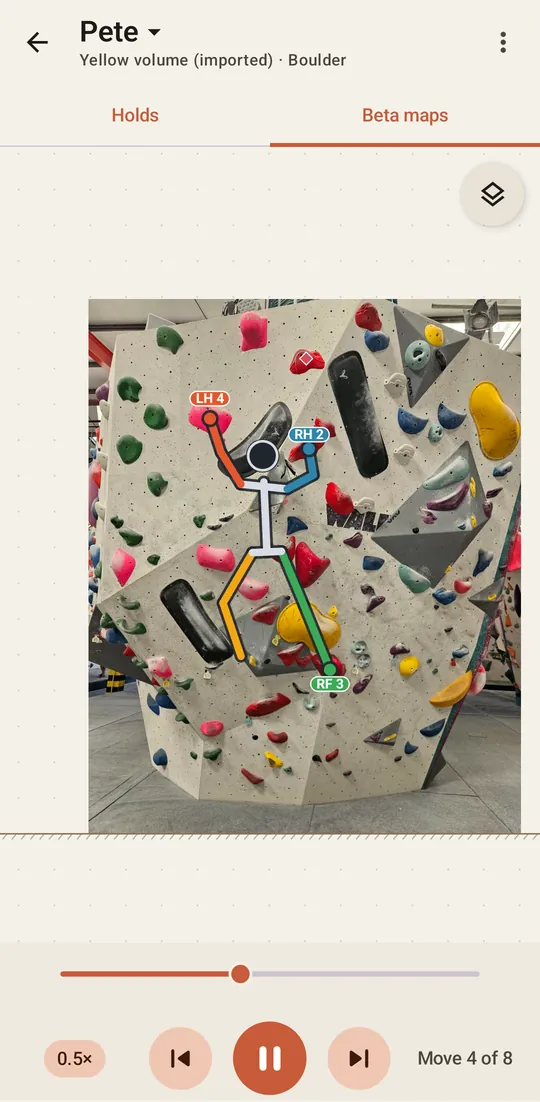
Press play , and tap the speed pill to slow the climb down to 0.5×. Follow current move is on from the start, so the wall moves to keep the current move in sight.
 , and tap the speed pill to slow the climb down to 0.5×. Follow current move is on from the start, so the wall moves to keep the current move in sight.
To see the whole wall instead, open Layers with the button at the top right and untick it. The same panel fades the climber and the photo, and Off, Numbers and Numbers + notes choose what is written on the wall. The Layers guide covers the rest of the panel.
 at the top right and untick it. The same panel fades the climber and the photo, and Off, Numbers and Numbers + notes choose what is written on the wall.